Summer Camp Signage
Summer camp signage is more than just a functional necessity; it’s a key element in creating an engaging, safe, and memorable camp experience. This article delves into the art and science of designing effective summer camp signs, from choosing durable materials to incorporating creative elements that reflect your camp’s unique vibe. Whether you’re working on a tight budget or looking to make a big impact, we’ve got you covered with tips on customization, installation, and maintenance.
Exploring Signage Options
We’ll explore everything from safety and directional signage to creative ideas that captivate campers’ imaginations. Learn how to adapt your signs for different seasons and themes, and discover budget-friendly solutions that don’t compromise on quality.
Practical Advice
With practical advice and real-world examples, this guide will help you create signage that not only directs but delights, ensuring your camp stands out for all the right reasons. Ready to transform your camp’s signage? Let’s dive in!
Designing Effective Summer Camp Signs
Ever wondered why some summer camp signs grab your attention while others fall flat? It’s not just about slapping on some paint and hoping for the best. Designing effective summer camp signs is a blend of creativity, practicality, and a dash of psychology. Let’s dive into what makes a sign not just good, but great.
What Makes a Sign Stand Out?
Visibility and Readability
First things firstâcan people actually read your sign? This is where visibility and readability come into play. Here’s what you need to consider:
- Font Size and Style: Go big and bold. Avoid fancy fonts that make you squint.
- Colour Contrast: High contrast between text and background ensures readability.
- Lighting: Natural light can make or break visibility. Consider the sun’s position.
Purpose and Messaging
What’s the point of your sign? Is it welcoming campers, giving directions, or maybe promoting an event? Keep the message clear and concise:
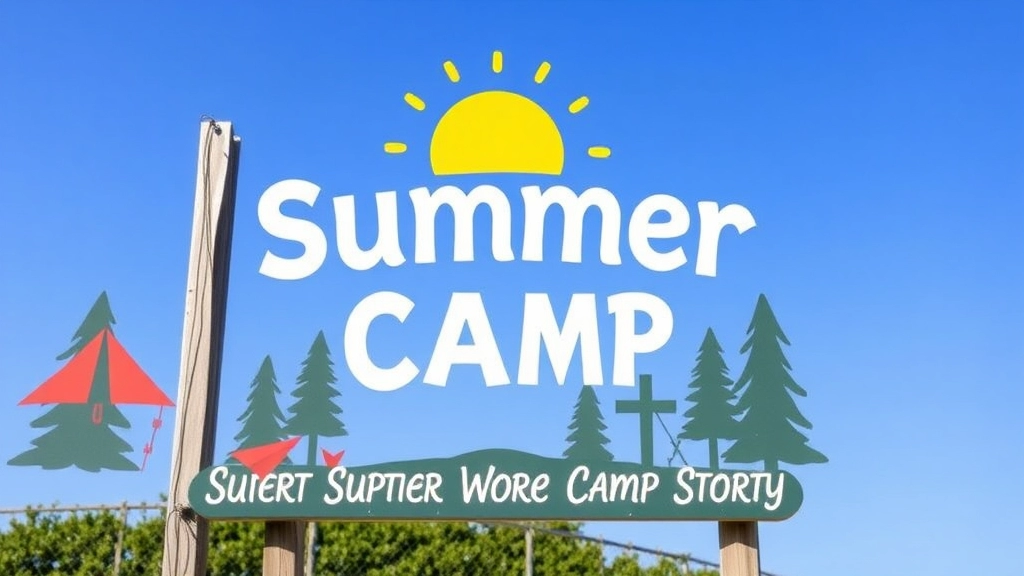
- Welcome Signs: Use warm and inviting language.
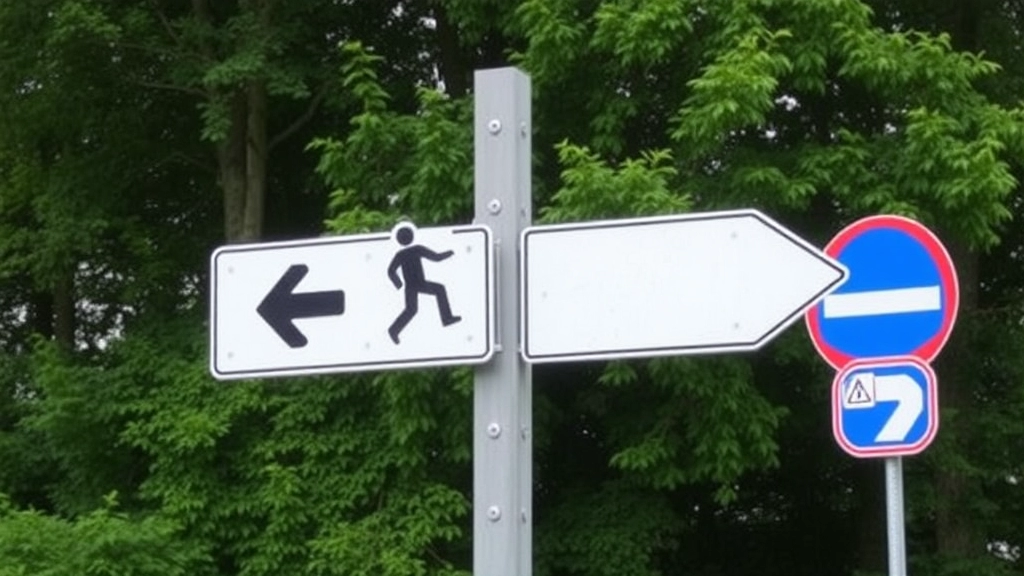
- Directional Signs: Arrows and simple words like “left” or “right” work wonders.
- Event Promotion: Highlight key details like date and time.
Creative Elements
Adding Personality
Your camp has a vibeâcapture it! Here’s how to infuse personality into your signs:
- Colours and Graphics: Use colours that reflect your camp’s spirit. Add fun graphics or mascots.
- Themes: Tie in with the camp’s theme, whether it’s wilderness, adventure, or arts.
Story Time
I remember visiting a camp where the signs told a story. Each sign was a piece of a treasure map. Kids were hooked! That’s the power of creativity.
Practical Tips for Design
Keep It Simple
Don’t overcomplicate. A cluttered sign is a confusing sign. Stick to the essentials:
- Bullet Points: Break down information into easy-to-digest points.
- Clear Hierarchy: Use headings and subheadings to guide the reader.
Test and Tweak
Before you print a hundred signs, test one. Put it up and see how people respond. Is it effective? If not, tweak it.
For more ideas on how to make your camp stand out, check out our Creative Summer Camp Sign Ideas and Tips and explore our guide on Designing Durable and Visible Summer Camp Arrow Signs.
Materials and Durability for Outdoor Use

Ever worried about your camp signs falling apart just when you need them most?
Yeah, me too.
Let’s talk about choosing the right materials for outdoor signage.
Because let’s face it, Mother Nature can be a bit harsh.
Why Durability Matters
When you’re out in the wild, your signs need to stand up to the elements.
Rain, wind, sun – they can all take a toll.
Imagine your campers lost because a sign peeled off or faded away.
Not fun.
Top Materials for Outdoor Signs
Here’s what you need to know:
1. Aluminium:
- Lightweight but tough.
- Rust-resistant.
- Great for long-term use.
2. PVC:
- Affordable and versatile.
- Weather-resistant.
- Easy to customise.
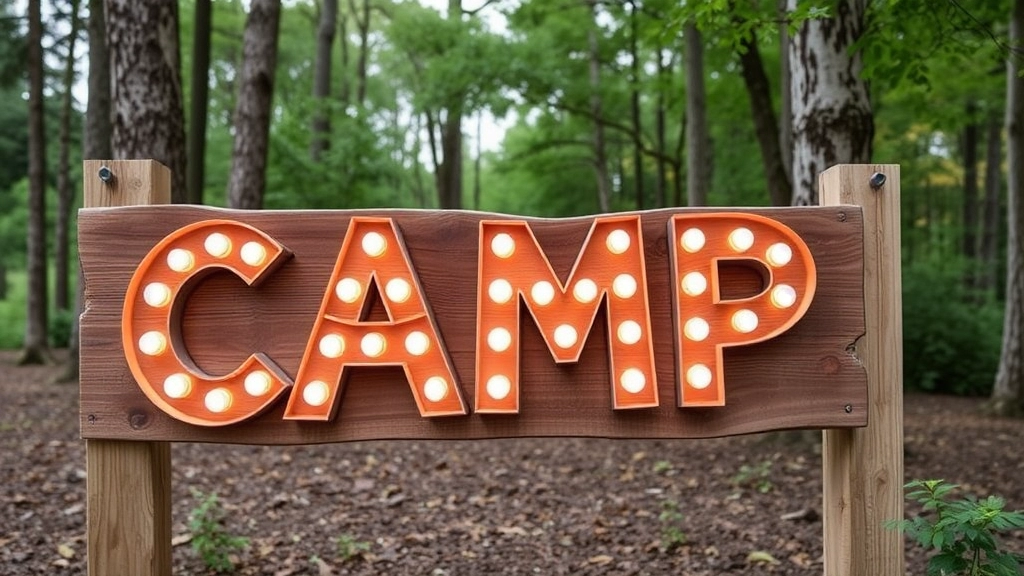
3. Wood:
- Classic look.
- Needs treatment to prevent rotting.
- Best for short-term or seasonal use.
4. Coroplast:
- Think of it as plastic cardboard.
- Lightweight and cheap.
- Ideal for temporary signs.
Real Talk: What Works Best?
From my experience, aluminium and PVC are your go-tos for most camps.
They balance cost and durability well.
Wood is great if you’re going for that rustic, natural vibe.
But remember, it needs more TLC.
Pro Tips for Durability
- UV Protection: Make sure your signs have UV-resistant coatings. No one likes faded signs.
- Waterproofing: Laminate or seal your signs to keep moisture out.
- Wind Resistance: Use sturdy posts and secure your signs well. Flimsy signs can blow away.
Stories from the Field
I once saw a camp use paper signs.
Yeah, you guessed it – they didn’t last a day.
On the flip side, another camp used aluminium signs with UV coating.
Three years later, they still looked brand new.
Creative Ideas for Camp Signage
Are your camp signs looking a bit dull? We’ve all been there. You want signs that not only guide but also excite. Let’s dive into some creative ideas that’ll make your camp signage pop.
Why Does Creative Signage Matter?
Creative camp signage does more than just direct traffic. It sets the tone, creates excitement, and builds anticipation. Imagine campers arriving, eyes wide with wonder at the vibrant signs that promise adventure. That’s what we’re aiming for.
Unleash Your Creativity
Here’s how you can make your camp signs stand out:
- Theme-Based Designs: Match the signs with your camp’s theme. Running a pirate-themed camp? How about treasure map signs?
- Interactive Elements: Use QR codes that link to camp stories or maps. Kids love tech, and it’s a great way to engage them.
- Unique Shapes and Colours: Ditch the standard rectangles. Think arrows, clouds, or even animal shapes. Bright colours can catch the eye and make navigation fun.
Materials for Creativity
Choosing the right materials can enhance creativity:
- Wood: Offers a rustic feel. Perfect for nature camps.
- Metal: Durable and modern. Great for sleek designs.
- Chalkboards: Change messages daily. Adds a personal touch.
Personal Stories and Examples
I remember visiting a camp where each sign was a piece of art. One sign, shaped like a giant compass, pointed to different activities. It was not just a sign; it was a conversation starter. Campers loved taking photos with it, and it became a part of the camp’s identity.
Tips for Designing Creative Signs
- Involve Campers: Let them design signs as part of an activity. It’s a win-win.
- Use Bold Fonts: Easy to read from a distance.
- Add Fun Quotes: Inspire and entertain with quotes related to camp life.
Keep It Fresh, Keep It Real
Remember, creative camp signage isn’t just about looking good. It’s about enhancing the camper experience. Make your signs a part of the adventure. When campers leave, they’ll remember the fun, not just the directions.
For more tips on creating an unforgettable camp experience, check out our guide to daily camp activities and our fun craft ideas for kids.
Safety and Directional Signage
Ever found yourself lost in the middle of a forest, desperately searching for the dining hall? Yeah, not fun.
Safety and directional signage at summer camps are crucial. They ensure everyone knows where to go and what to avoid.
Why is this important?
Because no one wants to deal with lost kids or safety hazards.
Here’s what you need:
- Clear Directions: Signs that point the way to key locations like cabins, dining halls, and activity areas. Use large, bold fonts. Think green for go, red for stop – make it super obvious.
- Safety Alerts: Hazard signs for areas like steep trails, water bodies, or restricted zones. You want everyone to see these from a mile away.
- Emergency Info: Signs showing where to find first aid kits, fire extinguishers, and emergency exits. In a pinch, these signs are lifesavers, literally.
Design Tips:
- Use Icons: Universal symbols are your best friends. They cut through language barriers and get the message across fast.
- Colour Coding: Stick to a consistent colour scheme. Red for danger, blue for information, green for directions. Easy to remember, easy to follow.
- Reflective Materials: Night-time visibility is a must. Use reflective materials or add solar lights to your signs.
Real Talk:
I once had a camper wander off because the directional signs were confusing. We found him safe, but it was a wake-up call. Clear, effective signage could’ve prevented that little adventure.
Installation Tips:
- Height Matters: Place signs at eye level. Kids and adults should both be able to see them easily.
- Sturdy Mounting: Use durable materials and solid mounting techniques. Your signs should withstand weather and curious hands.
- Regular Checks: Make it a habit to check your signs regularly. Weather, wear and tear, and even wildlife can mess with them.
Budget-Friendly Hacks:
- DIY Signs: Get creative with campers. Let them paint and decorate signs. It’s fun and cost-effective.
- Recycled Materials: Use wood scraps, old boards, and other recycled materials. Eco-friendly and budget-friendly.
Customisation and Branding Options
Alright, let’s talk about customisation and branding options for your summer camp signs. I know what you’re thinking: “How do I make my camp stand out without breaking the bank?” Well, you’re in the right place.
Why Customisation Matters
When parents drop off their kids at your camp, they want to see a place that looks professional and inviting. Customised signs are the first step in creating that impression. They show that you care about the details and have put thought into creating a unique experience.
Types of Customisation Options
Let’s break it down:
- Colours and Fonts: Your signs should match your camp’s theme and colours. Consistency is key. If your camp has a playful, adventurous vibe, go for bright colours and fun fonts. If it’s more about nature and serenity, earthy tones and elegant fonts work best.
- Logos and Mascots: Incorporate your camp’s logo or mascot. This not only reinforces your brand but also makes the signs more engaging for the kids. Imagine a sign with a friendly camp mascot pointing the way to the dining hall. Fun, right?
- Personalised Messages: Add a personal touch with messages that resonate with your campers. Instead of a plain “Welcome,” how about “Welcome to an Adventure of a Lifetime!” It sets the tone and gets everyone excited.
Branding Options
Now, let’s dive into some branding strategies:
- Themed Signage: Create signs that align with your camp’s theme. If you’re running a pirate-themed camp, think treasure maps and pirate flags. For a science camp, how about signs shaped like test tubes or planets?
- Seasonal Variations: Update your signs to reflect different seasons or special events. Summer camp might have beachy vibes, but a winter camp could feature snowflakes and hot cocoa imagery.
- Interactive Signs: Make your signs interactive. QR codes that link to camp activities or scavenger hunts can add an extra layer of engagement. Kids love it, and it’s a great way to integrate tech into the great outdoors.
Real-World Examples
Here’s a story for you. One camp I know of had a superhero theme. They customised all their signs to look like comic book panels. Each sign had a different superhero giving directions or safety tips. The kids loved it, and it became a part of the camp’s identity. That’s the power of good branding.
Practical Tips
Here are some quick tips to get you started:
- Consult a Designer: If you’re not a design whiz, consult someone who is. A professional can help you nail down a cohesive look.
- Test Materials: Make sure the materials you choose can withstand the elements. You don’t want your beautiful signs falling apart after the first rain.
- Get Feedback: Before finalising, get feedback from staff and even some campers. They might have insights you hadn’t considered.
Internal Linking Opportunities
For more creative ideas, check out our Creative Summer Camp Sign Ideas and Tips. If you’re looking for theme inspiration, explore our section on Creative Summer Camp Names for Every Theme.
Installation Tips and Best Practices for Camp Signage

Ever been stumped on how to get those camp signs up without them falling over or looking wonky?
Yeah, me too.
Let’s dive into some no-nonsense tips to make sure your signs stay put and look sharp.
Why Does Installation Matter?
First off, let’s get real.
If your signs aren’t installed right, they’re useless.
They need to be visible, durable, and safe.
Here’s how to nail it:
1. Choose the Right Spot
- Visibility: Make sure your signs are easy to see from a distance.
- Traffic Flow: Place them where people naturally walk or drive.
- Safety: Avoid areas where they might block paths or cause accidents.
2. Secure Mounting Options
- Stakes and Posts: Use sturdy stakes for ground signs.
- Wall Mounts: For buildings, ensure you’re using the right anchors.
- Weatherproof Materials: Opt for materials that can withstand wind and rain.
3. Level and Align
- Use a Level: Keep your signs straight. Crooked signs scream unprofessional.
- Measure Twice: Ensure even spacing and alignment.
4. Test Stability
- Shake Test: Give it a good shake to see if it holds up.
- Wind Test: Consider how it’ll fare in strong winds.
5. Safety First
- Height Consideration: Ensure signs are at a safe height to avoid injuries.
- Secure Edges: Rounded edges prevent cuts and scrapes.
Real Talk Example
I once helped a mate with his camp signs, and guess what?
He skipped the level, and everything looked like a funhouse mirror.
We had a good laugh, but it was a lesson learned.
Budget-Friendly Signage Solutions
How can I create effective camp signage on a budget?
That’s the million-dollar question, right? You want your summer camp to look top-notch without breaking the bank. Trust me, it’s totally doable. Let’s dive into some practical ways to get the job done without spending a fortune.
Start with What You Have
First off, take stock of your existing resources. Got some old wood lying around? Maybe some paint from last year’s DIY projects? Repurposing what you already have can save you a ton of money. Plus, it adds a rustic charm that’s perfect for a camp setting.
DIY Signage: Your Best Friend
Why not roll up your sleeves and get crafty? DIY signage can be a fun project for both staff and campers. Here’s how you can pull it off:
- Wooden Signs: Use old pallets or scrap wood. Sand them down, paint them up, and voilà !
- Painted Rocks: Gather some smooth rocks and paint them with vibrant colours. They can serve as both directional markers and decorative pieces.
- Chalkboards: A bit of chalkboard paint can turn any flat surface into a reusable sign.
Bulk Buying and Discounts
If you need to buy materials, consider bulk purchases. Many suppliers offer discounts for larger orders. Also, don’t shy away from asking for a non-profit discount if your camp qualifies. Every little bit helps.
Printable Signs
For those who prefer a cleaner, more uniform look, printable signs are a great option. You can design them yourself using free online tools like Canva. Print them out, laminate them for durability, and you’re good to go.
Cost-Effective Materials
When it comes to materials, think durability and affordability. Here are some budget-friendly options:
- Corrugated Plastic: Lightweight and weather-resistant, perfect for outdoor use.
- Foam Board: Great for indoor signage and easy to cut into any shape.
- Vinyl Banners: Durable and can be reused year after year.
Get the Community Involved
Why not turn this into a community project? You’d be surprised how many parents, local businesses, and volunteers are willing to pitch in. Host a sign-making day and make it a fun event. You’ll get your signs, and everyone gets to feel like they’re part of something bigger.
Use Technology
If you’re tech-savvy, digital signage can be a game-changer. Tablets or old smartphones can be repurposed to display rotating messages. It’s a bit of an upfront investment, but it can save you money and hassle in the long run.
For more tips on creating a successful camp environment, check out our daily schedule and activities guide and learn how to design the perfect summer camp banner.
Engaging Signage for Camp Activities
Ever found yourself lost in the sea of camp activities?
Yeah, me too.
Engaging signage can be a game-changer.
Let’s dive into how you can make your camp signs pop and keep everyone in the loop.
Why Engaging Signage?
First off, why bother with engaging signage?
Simple.
- Keeps kids excited: Kids love visuals. Bright, fun signs keep their energy up.
- Clear communication: Everyone knows where to go and what to do.
- Adds to the vibe: Cool signs make your camp look professional and fun.
Types of Engaging Signs
Here’s a quick list of must-have signs:
- Activity Boards: List out the day’s activities. Use colours and icons.
- Directional Signs: Point out key spots like the dining hall, cabins, and restrooms.
- Safety Signs: Make safety rules clear and engaging.
- Fun Facts: Sprinkle in trivia or jokes related to activities.
Design Tips
You don’t need to be a design guru.
Just keep these tips in mind:
- Bold Colours: Use colours that stand out.
- Simple Fonts: Easy-to-read fonts are a must.
- Icons and Images: Visuals are more engaging than text alone.
- Interactive Elements: Think of adding QR codes for scavenger hunts or additional info.
Real-World Examples
Picture this:
You’re at a summer camp, and there’s a sign at the archery range that says, “Ready, Aim, Fun!” with a cartoon archer.
Or at the nature trail, a sign reads, “Did you know? This trail is home to 50 species of birds!”
These aren’t just signs.
They’re part of the experience.
DIY Ideas
On a budget?
No problem.
- Chalkboards: Change info daily.
- Hand-Painted Signs: Get creative with the kids.
- Recycled Materials: Use old wood or cardboard.
Pro Tips
Here are some quick wins:
- Laminate Signs: For durability.
- Consistent Style: Keep the look uniform.
- Involve the Kids: Let them help design and create signs.
Engagement through Tech
Don’t shy away from tech.
- QR Codes: Link to videos or activity instructions.
- Social Media: Share updates and photos of the signs in action.
Seasonal and Thematic Signage Variations
Ever thought about how to keep your summer camp signage fresh and engaging all year round? Let’s dive into some real concerns and practical solutions to make your camp signs not just functional, but also a hit with the campers and staff alike.
Why Seasonal and Thematic Signage?
Question: How do you keep your camp signage relevant and exciting throughout different seasons?
Worry: Are you stuck with boring, outdated signs that no one pays attention to anymore?
Solution: Seasonal and thematic signage is your answer. It’s about changing things up to match the vibe of the season or the theme of your camp events. Here’s why it’s a game-changer:
- Keeps things fresh: Campers and staff notice new signs, which can boost engagement.
- Enhances the experience: The right signs can contribute to the overall atmosphere and make your camp more memorable.
- Improves functionality: Seasonal changes can mean different needs for directions, safety, and activity instructions.
Tips for Implementing Seasonal Signage
Spring and Summer:
- Bright Colours: Use vibrant colours like green, yellow, and blue to reflect the lively spirit of these seasons.
- Nature Themes: Incorporate elements like flowers, trees, and animals to blend with the natural surroundings.
- Event-Specific Signs: If you have special events like a summer festival or a spring hike, create unique signs for these activities.
Autumn and Winter:
- Warm Tones: Opt for warm colours like orange, red, and brown for autumn, and cool tones like white, blue, and silver for winter.
- Seasonal Imagery: Think leaves, pumpkins, and cosy fires for autumn; snowflakes, icicles, and festive decorations for winter.
- Safety Reminders: Winter especially can bring new safety concerns. Clear, themed signs for icy paths or snowball fight zones can be both fun and functional.
Thematic Signage Ideas
Camp Themes:
- Adventure Theme: Use signs shaped like treasure maps, pirate flags, or compass points. For more creative ideas, check out our creative camp themes for 2024.
- Space Theme: Think stars, planets, and rockets. Glow-in-the-dark paint can add an extra wow factor.
- Wild West Theme: Wooden signs with a rustic look, maybe even some faux wanted posters for fun.
Holiday Themes:
- Halloween: Spooky fonts, ghost and pumpkin graphics, and perhaps some glow-in-the-dark elements.
- Christmas: Red and green colours, festive fonts, and images of Santa, reindeer, and gifts.
- Easter: Pastel colours, bunny and egg graphics, and perhaps some interactive elements like a scavenger hunt.
Practical Tips for Creating Seasonal and Thematic Signs
- Reusable Materials: Consider using materials that can be easily updated or swapped out, like chalkboards or dry-erase boards.
- DIY Projects: Get campers involved in creating the signs. It’s a fun activity and gives them a sense of ownership.
- Digital Integration: If you have digital signage, updating for seasons and themes can be as simple as a quick software change.
Real-Life Example
Last summer, we decided to go all out with a “Jungle Safari” theme. We created signs that looked like they were made from bamboo and vines, with animal footprints leading the way to different activities. For more inspiration on activities, explore our fun activities at summer camp. The kids loved it, and it made navigating the camp a lot more fun. Plus, we noticed a significant drop in lost campers (and lost patience from the staff!).
Maintenance and Care for Longevity
Ever wonder why your camp signs fade or fall apart just when you need them most?
You’re not alone.
Keeping your summer camp signs looking fresh and functional is a common worry.
Let’s dive into how you can make them last.
Why Maintenance Matters
Signs are an investment.
They guide campers, set the mood, and keep everyone safe.
But if they wear out, you’re back to square one.
Simple Tips for Longevity
- Regular Cleaning
- Dust and dirt build-up can ruin your signs.
- Use a soft cloth and mild soap.
- Avoid harsh chemicals; they degrade materials.
- Weatherproofing
- Apply a UV-protective coating.
- Use waterproof materials.
- Check for signs of wear after storms.
- Seasonal Storage
- Store signs indoors during off-seasons.
- Keep them in a dry, cool place.
- Use covers to prevent dust and moisture damage.
Real Talk: What Works and What Doesn’t
I once had a camp sign that looked amazing for the first summer.
By the next year, it was a messâfaded and barely readable.
Turns out, I skipped the UV coating.
Lesson learned.
Routine Checks
- Monthly Inspections
- Look for cracks, fading, or any damage.
- Fix small issues before they become big problems.
- Annual Overhaul
- Reapply protective coatings.
- Replace any signs that are beyond repair.
Stories from the Field
A friend of mine runs a camp up north.
She swears by using marine-grade materials.
Her signs have lasted five years and counting.
Quick Fixes
- Touch-Up Paint
- Keep a small kit handy for quick repairs.
- Match colours exactly to avoid patchy looks.
- Reinforcement
- Use sturdy posts and brackets.
- Secure signs well to withstand wind and weather.
Pro Tips for Longevity
- Quality Over Quantity
- Invest in high-quality materials upfront.
- It pays off in the long run.
- Stay Updated
- New materials and coatings come out all the time.
- Keep an eye out for better options.
For more insights on making your camp experience better, check out our summer camp weekly themes and camp culture traditions articles.
FAQs on Summer Camp Signage
What materials are best for durable outdoor camp signs?
For durable outdoor camp signs, aluminium and PVC are highly recommended. Aluminium is lightweight, rust-resistant, and great for long-term use. PVC is affordable, versatile, and weather-resistant. Wood offers a classic look but requires treatment to prevent rotting, making it best for short-term or seasonal use. Coroplast is ideal for temporary signs as it is lightweight and inexpensive.
Why is durable signage important for summer camps?
Durable signage is crucial because it needs to withstand harsh weather conditions like rain, wind, and sun. If signs fall apart or fade, it can lead to campers getting lost or missing important information, which can be both frustrating and dangerous.
What safety and directional signs are essential for summer camps?
Essential safety and directional signs include clear directions to key locations like cabins and dining halls, safety alerts for hazardous areas, and emergency information showing where to find first aid kits, fire extinguishers, and emergency exits.
What are some design tips for effective camp signage?
Effective camp signage should use icons for universal understanding, a consistent colour scheme (e.g., red for danger, green for directions), and reflective materials for night-time visibility. Additionally, signs should be placed at eye level and mounted securely.
How should camp signs be installed for maximum effectiveness?
To ensure maximum effectiveness, choose spots where signs are highly visible and follow the natural traffic flow. Use sturdy stakes and wall mounts, and ensure signs are level and aligned. Test the stability of the signs by shaking them and considering wind resistance.
What are some budget-friendly options for camp signage?
Budget-friendly options include DIY signs, using recycled materials like wood scraps, and involving campers in painting and decorating signs. Chalkboards can be used for daily updates, and hand-painted signs add a personalized touch.
How can engaging signage improve the camp experience?
Engaging signage keeps kids excited with bright visuals, ensures clear communication, and adds to the camp’s professional and fun vibe. Activity boards, directional signs, safety signs, and fun facts are types of engaging signs that can enhance the camp experience.
What are some pro tips for creating durable and engaging signs?
Pro tips include laminating signs for durability, maintaining a consistent style, and involving kids in the design process. Using bold colours, simple fonts, and interactive elements like QR codes can make the signs more engaging.
How can technology be integrated into camp signage?
Technology can be integrated through the use of QR codes that link to videos or activity instructions and by sharing updates and photos of the signs on social media. This can enhance engagement and provide additional information easily.
References
-
Top 5 Materials for Outdoor Signs
-
Why Safety and Directional Signage is Important
-
How to Install Signs: Best Practices