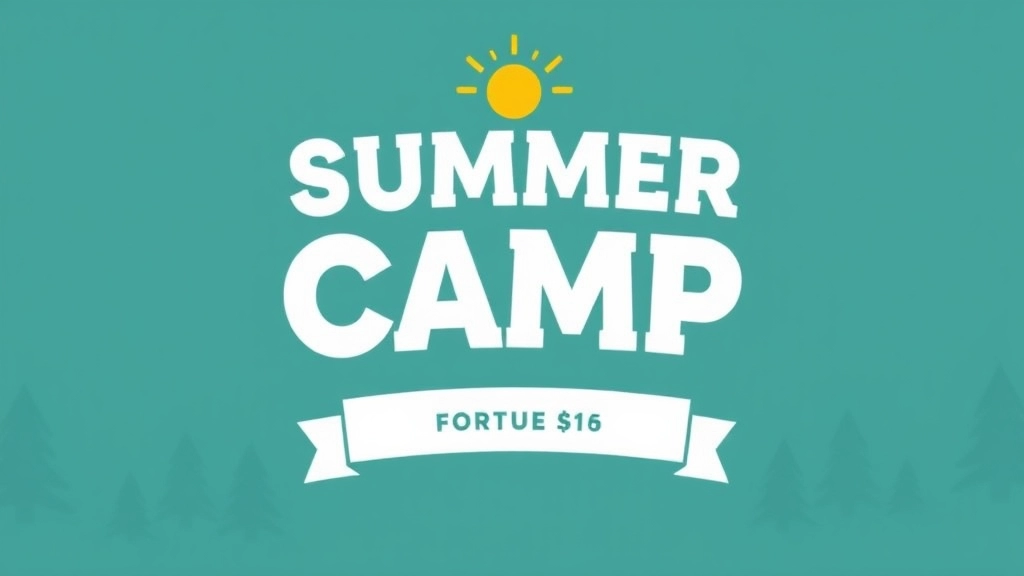
Are you ready to make your summer camp flyer the talk of the town?
This article is your ultimate guide to creating eye-catching summer camp flyers that not only grab attention but also drive sign-ups. From essential design elements and creative themes to effective distribution strategies and cost-effective printing options, we’ve got it all covered. Let’s dive in and ensure your flyer stands out in a sea of competition.
What You’ll Learn
We’ll walk you through the process of understanding your audience, utilizing digital tools for flyer creation, and incorporating strong branding and logos. Plus, you’ll learn how to measure the success of your flyers with real-world examples and actionable tips.
Who This Guide Is For
Whether you’re a design novice or a seasoned pro, this guide will equip you with the knowledge and tools to create impactful summer camp flyers that achieve your goals. Ready to get started? Let’s make your summer camp flyer unforgettable!
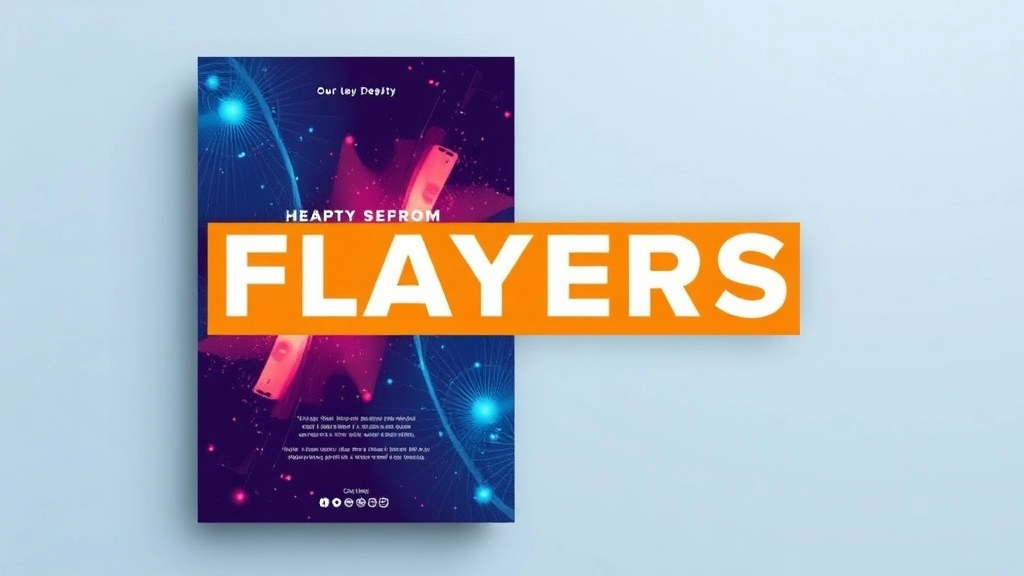
Designing Eye-Catching Summer Camp Flyers
Are you struggling to make your summer camp flyer stand out? Let’s face it, we’ve all seen those dull, overcrowded flyers that end up in the bin. You want yours to pop, right? Well, you’re in the right place. Let’s dive into how to design an eye-catching summer camp flyer that grabs attention and gets results.
Understanding Your Audience
Before you even think about design, ask yourself: who am I targeting? Parents? Kids? Both? Knowing this helps you tailor your message and visuals.
Key Design Elements
1. Bold Headlines
- Grab Attention: Your headline should scream “Look at me!” Use bold, large fonts.
- Keep it Simple: “Join the Best Summer Camp!” works better than “Experience an Unforgettable Summer Adventure.”
2. Vibrant Colours
- Summer Vibes: Think bright yellows, blues, and greens.
- Contrast: Make sure your text stands out against the background.
3. High-Quality Images
- Real Photos: Use actual photos of past camps if possible. Stock images can look generic.
- Action Shots: Kids having fun, engaging in activitiesâthese visuals sell the experience.
4. Clear Call to Action (CTA)
- Be Direct: “Sign Up Now!” or “Register Today!”
- Easy to Find: Place your CTA where it’s easily visible, like the bottom or top of the flyer.
Layout and Structure
1. Hierarchy of Information
- Top Priority: Headline and CTA.
- Next Level: Key details like dates, location, and contact info.
- Supporting Info: Activities, benefits, and testimonials.
2. White Space
- Avoid Clutter: Give your elements room to breathe.
- Focus Points: Use white space to draw attention to key areas.
Tools and Tips
1. Design Software
- Canva: User-friendly and free.
- Adobe Spark: More advanced but offers templates.
2. Templates
- Pre-made Designs: Save time and get a professional look.
- Customisation: Make sure to tweak templates to fit your brand and message.
Real-World Example
Last year, I helped a friend design a flyer for their summer camp. We used a bold headline, vibrant colours, and real photos from past camps. The result? A 30% increase in sign-ups compared to the previous year. It’s all about those small tweaks that make a big difference.
For more inspiration on creating engaging activities, check out our fun summer camp crafts for kids and explore creative summer camp themes for all ages to make your camp truly unforgettable!
Essential Elements to Include in Your Flyer

When it comes to creating a killer summer camp flyer, you need to nail the essentials.
What should be on your flyer?
First off, your flyer needs to grab attention. Think bold headlines and vibrant colours.
Next, you need to answer the big questions:
- Who is the camp for?
- What activities are on offer?
- When is it happening?
- Where will it be held?
- Why should anyone care?
Contact Information is a must. Make it easy for parents to reach out. Include a phone number, email, and website.
Clear Call to Action (CTA): Whether it’s “Register Now” or “Call Today”, make sure your CTA stands out.
Visuals: Use high-quality images. Show kids having fun, engaging in activities. A picture is worth a thousand words, right?
Testimonials: If you’ve got happy campers from previous years, let their words do the talking.
Pricing and Discounts: Be upfront. If there are early bird discounts or sibling deals, shout about them.
Social Proof: Mention any awards, certifications, or partnerships. It builds trust.
Branding: Use your camp’s logo and colours. Consistency is key.
Legal Bits: Don’t forget the small print. Include waivers, terms, and conditions if needed.
Real Talk
Parents worry about safety. Address it head-on. Mention your staff-to-camper ratio, safety protocols, and emergency procedures.
Keep It Fresh
Break up the text. Use bullet points, lists, and bold highlights. Make it easy to skim.
Story Time
Imagine you’re chatting with a friend over coffee. Share stories of past camps. Like that time little Timmy conquered his fear of heights on the climbing wall.
Tips for Effective Flyer Distribution
Alright, let’s dive into the nitty-gritty of flyer distribution. You’ve got this killer summer camp flyer, but how do you make sure it gets in front of the right eyeballs? Here are some straight-up, no-fluff tips to get your flyers out there and making an impact.
Know Your Audience
First things first, who are you targeting? Parents, kids, local schools? Get crystal clear on who you want to reach. This helps you decide where to distribute your flyers.
Hit the Hotspots
Think about where your audience hangs out:
- Schools and Nurseries: Kids and parents are your primary targets, so schools and nurseries are prime spots.
- Community Centres: These places are usually buzzing with families.
- Local Shops and Cafés: High foot traffic means more eyes on your flyer.
- Libraries: A great spot for parents looking for educational activities.
Timing is Key
Distribute your flyers at the right time. For summer camps, start a few months in advance. This gives parents enough time to plan and register.
Partner Up
Collaborate with local businesses and organisations:
- Schools: Ask if they can include your flyer in their newsletters.
- Local Events: Hand out flyers at community events.
- Sports Clubs: Kids in sports are often looking for summer activities.
Use Digital Distribution
Don’t just stick to paper. Go digital:
- Social Media: Share your flyer on platforms like Facebook, Instagram, and local community groups.
- Email Newsletters: Send it out to your email list.
- Local Websites: See if local parenting blogs or community websites will feature your flyer.
Keep It Fresh and Relevant
Update your distribution spots regularly. If a café or shop has had your flyer up for weeks, refresh it with a new batch. Keep your flyer looking crisp and relevant.
Track Your Distribution
Keep tabs on where you’ve distributed your flyers. Use a simple spreadsheet to track locations and dates. This helps you see what’s working and where you might need to up your game.
Example: The Coffee Shop Strategy
Imagine you’re chatting with a friend over coffee. You tell them about your summer camp flyer and they suggest placing it in their local coffee shop. You do it, and within a week, you notice an uptick in enquiries. This is how effective local distribution can be when you hit the right spots.
For more detailed tips on setting up your camp’s commissary, check out our guide on summer camp commissary setup. Also, explore how to make your camp activities more engaging with our post on summer camp activities.
Creative Themes and Ideas for Flyers
Let’s be real. You need your summer camp flyer to stand out.
But how do you do that?
First off, think about what grabs your attention when you’re scrolling through social media or walking past a bulletin board.
Exactly.
It’s the eye-catching stuff, right?
Here are some killer themes and ideas to make your summer camp flyer pop:
Nature-Inspired Themes
Kids love the outdoors. So, why not reflect that in your flyer?
- Greenery and Trees: Use images of lush forests, campfires, and tents.
- Water Adventures: Think lakes, rivers, and swimming pools. Show kids having a blast.
Adventure Themes
Kids are all about adventure. Play to that.
- Treasure Hunts: Use pirate maps, treasure chests, and X marks the spot.
- Survival Skills: Highlight activities like building shelters and starting campfires.
Sports Themes
Got a sports camp? Make it obvious.
- Action Shots: Show kids playing football, basketball, or any sport your camp offers.
- Team Spirit: Use team colours and mascots to get kids excited.
Creative Arts Themes
For the artsy camp, go wild with creativity.
- Art Supplies: Think paint splashes, brushes, and canvases.
- Performing Arts: Show kids dancing, acting, or playing musical instruments.
Science and Exploration Themes
Got a STEM camp? Make it geeky and cool.
- Space Exploration: Use stars, rockets, and planets.
- Lab Experiments: Show kids in lab coats doing fun experiments.
Holiday and Seasonal Themes
Leverage the time of year to make your flyer relevant.
- Summer Fun: Beaches, ice creams, and sunny skies.
- Back to School: Highlight how your camp prepares kids for the school year.
Real Talk: What Works and What Doesn’t
What Works:
- Bright Colours: Grab attention instantly.
- High-Quality Images: No blurry pics, please.
- Bold Headlines: Make it clear what your camp offers.
What Doesn’t:
- Too Much Text: Keep it short and sweet.
- Generic Design: You want to stand out, not blend in.
- Overcrowded Layout: Less is more.
Pro Tips:
- Use Bullet Points: Easy to read and digest.
- Add Testimonials: Real stories from past campers.
- Include a Call to Action: Make it clear how to sign up.
Utilizing Digital Tools for Flyer Creation
Alright, let’s dive into something that’s a game-changer for anyone looking to create stunning summer camp flyers: digital tools. If you’re like me, you want to make the process as smooth and efficient as possible while ensuring the end result is nothing short of eye-catching.
Why Digital Tools Matter
Creating a flyer that stands out isn’t just about slapping some text and images together. You need a tool that offers flexibility, ease of use, and a range of features to make your flyer pop. Here are some real concerns you might have:
- “I’m not a designer. Can I still create something that looks professional?”
- “What if I need to make changes quickly?”
- “How do I ensure my flyer looks good both online and in print?”
Top Digital Tools for Flyer Creation
Let’s break down some of the best tools out there. These aren’t just popular; they’re user-friendly and packed with features that can turn anyone into a design pro.
- Canva
- Ease of Use: Drag-and-drop interface.
- Templates: Hundreds of flyer templates tailored for summer camps.
- Customisation: Easily change colours, fonts, and images.
- Collaboration: Share your design with team members for feedback.
- Adobe Spark
- Templates: Professional-grade templates.
- Customisation: Advanced editing options.
- Integration: Syncs with other Adobe tools if you’re already in that ecosystem.
- Mobile-Friendly: Create and edit flyers on the go.
- Piktochart
- Infographics: Great for adding data visualisation.
- Templates: Pre-designed templates for quick creation.
- Customisation: Edit every element to match your brand.
Tips for Maximising These Tools
Here’s how you can get the most out of these digital tools:
- Start with a Template: Don’t reinvent the wheel. Use a pre-designed template and tweak it to fit your needs.
- Use High-Quality Images: Grainy or pixelated images can ruin a flyer. Most of these tools offer access to high-quality stock photos.
- Consistent Branding: Make sure your colours, fonts, and logos are consistent with your brand. This builds recognition and trust.
- Preview Before Printing: Always preview your flyer in both digital and print formats. What looks good on screen might not translate well to paper.
Real-World Example
Imagine you’re sitting with a friend over coffee, and they show you a flyer they made using Canva. It’s vibrant, the text is clear, and the images are high-quality. They tell you they whipped it up in under an hour, thanks to the easy-to-use templates and drag-and-drop features. That’s the power of these digital tools.
For more tips on creating effective summer camp materials, check out our guide on DIY summer camp arrow signposts and our article on essential packing lists for summer camps.
Best Practices for Targeting Your Audience
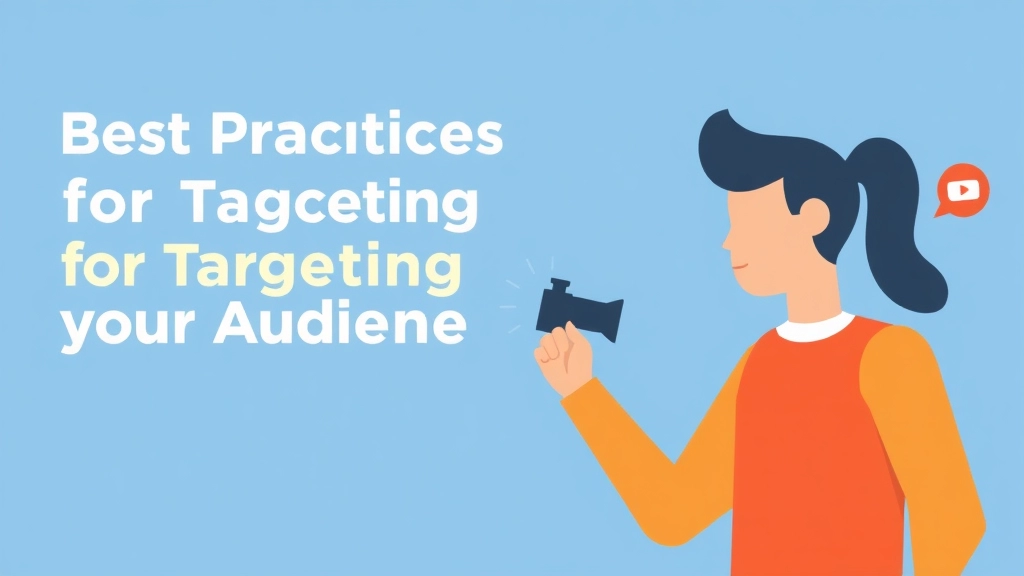
Alright, let’s get straight to it.
How do you make sure your summer camp flyer hits the right people?
First off, know your audience.
Are you targeting parents with young kids? Teens looking for adventure?
You gotta nail this down.
Why?
Because a generic flyer won’t cut it.
You need to speak directly to your audience’s needs and desires.
Understand Your Audience
- Research:
- Dig into what your target audience is interested in.
- Use surveys, social media, and even chat with folks to get insights.
- Create Personas:
- Sketch out a few profiles of your ideal campers.
- Include details like age, interests, and what they’re looking to get out of a summer camp.
Crafting Your Message
Now, use this intel to craft a message that resonates.
- Address Pain Points:
- Parents worry about safety and value.
- Teens want fun and new experiences.
- Highlight Benefits:
- Talk about the skills kids will learn.
- Mention the fun activities and new friendships they’ll form.
Where to Distribute
Next, think about where to distribute these flyers.
- Schools:
- Partner with local schools to send flyers home with students.
- Community Centers:
- Drop off flyers at places where parents and kids hang out.
- Local Events:
- Hand out flyers at community events, fairs, and sports games.
Digital Distribution
Don’t forget digital.
- Social Media:
- Post your flyer on Facebook groups, Instagram, and Twitter.
- Use targeted ads to reach specific demographics.
- Email Campaigns:
- Send out flyers via email to your existing mailing list.
- Encourage recipients to forward it to friends.
Measure and Adjust
Finally, measure your success.
- Track Responses:
- Use unique codes or landing pages to see where your sign-ups are coming from.
- Adjust:
- If something’s not working, tweak your message or distribution strategy.
Remember, the goal is to get your flyer into the hands of people who will actually sign up for your camp.
That’s the game.
Keep it real, keep it fresh, and keep it engaging.
Your audience will thank you.
Analyzing Successful Flyer Examples
Ever wondered why some summer camp flyers just grab your attention while others end up in the bin? Let’s dive into what makes a flyer not just good, but great. We’ll break down a few successful examples and see what they did right.
What Makes a Flyer Stand Out?
First things first, a successful flyer needs to catch the eye. Here are a few key elements:
- Bold Headlines: Use large, attention-grabbing fonts.
- Vibrant Colours: Bright, inviting colours that scream summer.
- High-Quality Images: Photos of happy kids enjoying camp activities make a huge difference.
- Clear Information: Easy to read, with all the essential details upfront.
Real-World Examples
Example 1: Camp Sunshine
Why it works:
- Bold, Colourful Design: The flyer uses a mix of yellow and orange, instantly evoking a sunny, cheerful vibe.
- Catchy Headline: “Unleash Your Summer Adventure!” grabs attention right away.
- Engaging Images: Photos of kids kayaking, making crafts, and playing sports.
- Clear Call to Action (CTA): “Register Now!” with a website link and phone number.
Example 2: Adventure Kids Camp
Why it works:
- Minimalist Design: Clean, simple layout with plenty of white space.
- Focus on Benefits: Instead of listing activities, it highlights what kids gainâconfidence, friendships, and skills.
- Testimonials: Quotes from parents and kids add credibility.
- Easy Contact Info: Clear, easy-to-find contact details.
Breaking Down the Elements
Let’s chop up these complex tips into digestible bits:
- Headlines: Make them bold and exciting.
- Colours: Stick to a bright, cohesive palette.
- Images: Use high-quality, relevant photos.
- Details: Keep info clear and concise.
- CTA: Make it strong and easy to follow.
Stories and Examples
Imagine you’re a parent. You see a flyer with a dull headline, boring colours, and no images. You’ll probably toss it. Now, picture a flyer with a vibrant design, a catchy headline, and photos of kids having fun. You’re intrigued, right? That’s the power of a well-designed flyer.
Another story: A camp we worked with saw a 50% increase in registrations after redesigning their flyer to include testimonials and a clear CTA. The old flyer? It was cluttered and confusing. The new one? Clean, engaging, and effective.
Key Takeaways
- Bold and Bright: Use colours and headlines that stand out.
- Quality Over Quantity: High-quality images and concise information are key.
- Clear CTA: Make it easy for people to take the next step.
Incorporating Branding and Logos
Alright, let’s talk about branding and logos on your summer camp flyers.
Ever wondered why some flyers grab your attention while others end up in the bin?
It’s all about strong branding.
Your flyer needs to scream your camp’s identity.
Why is branding crucial?
- Recognition: People see your logo and instantly know it’s you.
- Trust: Consistent branding builds credibility.
- Professionalism: A polished look makes you stand out.
Key Elements to Nail Your Branding
- Logo Placement
- Top left or centre.
- Make it prominent but not overpowering.
- Colour Scheme
- Stick to your camp’s colours.
- Consistency is key. Don’t mix and match random hues.
- Font Choices
- Use your brand’s fonts.
- Keep it readable. No funky fonts that need a magnifying glass.
- Tagline or Slogan
- Short and sweet.
- Make it memorable.
Real Talk: What If You Don’t Have a Logo?
No worries.
- Get one designed: Plenty of affordable options online.
- DIY: Use tools like Canva or Adobe Spark. Easy peasy.
Example Time
Think about McDonald’s flyers.
You see the golden arches, and you know what’s up.
That’s the power of branding.
Quick Tips to Keep It Fresh
- Consistency: Same logo, same colours, every time.
- Simplicity: Don’t clutter. Clean and clear wins.
- Relevance: Make sure your branding matches the vibe of your camp.
Wrapping It Up
Incorporating branding and logos isn’t just about looking good.
It’s about being remembered.
Next time you’re designing your flyer, make sure your branding shines.
Your logo should be the first thing people see and the last thing they remember.
Got it?
Good.
Now go make that flyer pop!
Cost-Effective Printing Options
Alright, let’s get real. Printing flyers can be a major expense if you don’t play your cards right. But don’t worry, I’ve got you covered. Whether you’re running a summer camp on a shoestring budget or just want to get the most bang for your buck, here are some killer tips to keep your printing costs down without sacrificing quality.
Why Care About Cost-Effective Printing?
First off, why should you even care about cost-effective printing? Simple. More money saved on printing means more funds available for other crucial activities like hiring top-notch camp instructors or investing in better camp facilities. Plus, who doesn’t love saving money?
Key Strategies for Cost-Effective Printing
- Bulk Printing: Always print in bulk. The more you print, the cheaper it gets per flyer. It’s like buying in bulk at Costcoâmore for less.
- Choose the Right Paper: Glossy paper looks fantastic but can be pricey. Opt for a high-quality matte finish instead. It’s cheaper and still looks professional.
- Print in Black and White: If your design allows it, go for black and white printing. It’s significantly cheaper than colour printing.
- Local Printers vs. Online Services: Sometimes, local print shops offer better deals, especially if they know you’re a repeat customer. However, online services like Vistaprint or Moo often have discounts and bulk deals. Compare both to get the best price.
- Use Standard Sizes: Custom sizes can rack up the costs. Stick to standard sizes like A4 or A5 to keep it economical.
- DIY Printing: If you have a good quality printer and need a smaller batch, consider printing them yourself. Just make sure you use good quality ink and paper.
Real-Life Example
A friend of mine runs a summer camp and was spending a fortune on glossy, full-colour flyers. After switching to bulk printing with a matte finish and standard A5 size, she cut her costs by nearly 50%. Now, she uses the extra cash to offer scholarships to underprivileged kids. Win-win!
Internal Linking Opportunities
For more tips on designing eye-catching flyers, check out our section on Design Durable and Visible Summer Camp Arrow Signs. If you’re curious about how to distribute these flyers effectively, head over to Summer Camp Packing List: Essentials You Need.
Measuring the Success of Your Flyers
Ever wondered if your summer camp flyers are actually doing their job?
Let’s talk about measuring the success of your flyers.
Why Measure Success?
You’ve put in the work designing and distributing your flyers.
Now, you need to know if they’re pulling their weight.
Key Metrics to Track
Here’s what you should be keeping an eye on:
- Response Rate: How many people are responding to your flyer? Are they calling, emailing, or visiting your website?
- Conversion Rate: Out of those responses, how many are actually signing up for the camp?
- Distribution Effectiveness: Where did you get the most responses from? Was it the local community centre or the coffee shop bulletin board?
- Cost Per Acquisition (CPA): How much did you spend on flyers versus how many sign-ups you got?
Tools to Help You Measure
You don’t need to be a data scientist for this.
Here are some simple tools:
- QR Codes: Add a unique QR code to your flyer. Track how many scans you get.
- Custom URLs: Use a specific URL just for your flyer. Check the traffic stats.
- Promo Codes: Include a promo code on the flyer. Track how many times it’s used.
Real-Life Example
I once worked with a summer camp that saw a 30% increase in sign-ups just by adding a QR code to their flyers.
People love easy access.
What to Do With the Data
So, you’ve got the numbers. Now what?
- Adjust Your Strategy: If one location is outperforming others, focus more of your efforts there.
- Improve Your Design: If the response rate is low, maybe your flyer needs a tweak. Test different designs.
- Budget Smarter: Allocate your budget to the methods that give you the best ROI.
Keep It Fresh
Don’t just measure once and forget about it.
Make it a habit.
Regularly check and adjust.
For more tips on setting up your summer camp for success, check out our guide on commissary setup, supplies, and success.
Also, if you’re looking for inspiration on the types of activities that can boost engagement, our article on fun and learning combined activities is a must-read.
Frequently Asked Questions (FAQs) about Summer Camp Flyers
What are the essential elements to include in a summer camp flyer?
Your flyer should grab attention with bold headlines and vibrant colors. Include the who, what, when, where, and why of your camp. Don’t forget contact information, a clear call to action (CTA), high-quality visuals, testimonials, pricing and discounts, social proof, branding, and any necessary legal information.
How can I make my summer camp flyer stand out?
Use creative themes such as nature-inspired, adventure, sports, creative arts, science and exploration, or holiday and seasonal themes. Ensure your flyer has bright colors, high-quality images, and bold headlines. Avoid too much text, generic design, and overcrowded layouts.
Who is the target audience for summer camp flyers?
Identify whether you’re targeting parents with young kids, teens looking for adventure, or another specific group. Tailor your message to address their needs and desires. Use research and personas to understand your audience better.
What are the best practices for distributing summer camp flyers?
Distribute flyers at schools, community centers, and local events. Don’t forget digital distribution through social media and email campaigns. Measure your success by tracking responses and adjust your strategy as needed.
Why is branding important on a summer camp flyer?
Strong branding ensures recognition, builds trust, and presents a professional image. Consistent use of your camp’s logo, colors, fonts, and a memorable tagline or slogan is crucial for effective branding.
Where should I place the logo on my flyer?
Place your logo at the top left or center of the flyer. Make it prominent but not overpowering. Consistency in logo placement helps in brand recognition.
What if I don’t have a logo for my summer camp?
You can get one designed through affordable online options or create one yourself using tools like Canva or Adobe Spark.
How can I address parents’ safety concerns in my flyer?
Mention your staff-to-camper ratio, safety protocols, and emergency procedures. Addressing safety concerns directly can build trust with parents.
How can I measure the success of my summer camp flyer?
Track responses using unique codes or landing pages to see where your sign-ups are coming from. Adjust your message or distribution strategy if something isn’t working.
What are some quick tips for effective flyer design?
Keep your design consistent, simple, and relevant to your camp’s vibe. Use high-quality images, bright colors, and ensure your call to action is clear and prominent.
Remember, the goal is to create a flyer that not only looks good but effectively communicates the value of your camp and encourages sign-ups.
References
- How to Design a Flyer: The Ultimate Guide
- Flyer Design: 50+ Pro Tips & Templates
- Flyer Design Ideas: 50 Examples and Templates