Welcome to the Ultimate Guide on Summer Camp Arts and Crafts!
Whether you’re a camp counselor, a parent, or an educator, keeping kids entertained and engaged during summer camp can be a challenge. This article is packed with creative craft ideas that are easy, fun, and will keep those little hands busy. From essential materials to age-appropriate projects and eco-friendly options, we’ve got you covered.
We’ll explore how to incorporate nature into crafts, organize craft sessions effectively, and ensure safety while crafting with kids. Plus, we’ll share tips on displaying and sharing completed crafts to boost kids’ confidence and creativity. So, let’s dive in and make this summer camp unforgettable with some amazing arts and crafts activities!
Creative Craft Ideas for Summer Camp
Alright, let’s talk about something every camp counsellor and parent worries about: keeping kids entertained and engaged during summer camp. You don’t want them glued to screens, right? You want them creating, learning, and having a blast. So, let’s dive into some killer creative craft ideas for summer camp that are easy, fun, and will keep those little hands busy.
Why Crafts Matter
Before we get into the nitty-gritty, let’s address why crafts are a big deal. Crafts aren’t just about keeping kids occupied. They help with:
- Fine motor skills: Cutting, gluing, and painting are great for hand-eye coordination.
- Creativity: Crafting lets kids think outside the box.
- Teamwork: Group projects teach cooperation and sharing.
Quick and Easy Craft Ideas
Friendship Bracelets
Who doesn’t love a good friendship bracelet? They’re simple, and kids can swap them like trading cards.
Materials Needed:
- Embroidery floss in various colours
- Scissors
- Tape or clipboard to hold the bracelet while working
Steps:
- Cut three to five strands of floss, each about 60 cm long.
- Tie a knot at one end and tape it to a flat surface.
- Braid or knot the strands in your chosen pattern.
- Tie off the end and trim any excess.
Nature Collages
This one incorporates a bit of a nature walk. Kids collect leaves, flowers, and twigs and then create a collage.
Materials Needed:
- Collected natural items
- Glue
- Construction paper
- Markers or crayons
Steps:
- Go on a nature walk and collect items.
- Arrange them on construction paper.
- Glue them down and add any extra decorations with markers or crayons.
Painted Rocks
Super simple and tons of fun. All you need are some rocks, paint, and a bit of imagination.
Materials Needed:
- Smooth rocks
- Acrylic paint
- Paintbrushes
- Sealant (optional)
Steps:
- Wash and dry the rocks.
- Paint them with fun designs or patterns.
- Let them dry and optionally seal them to make the paint last.
Crafting on a Budget
Not everyone has a massive budget for craft supplies, and that’s okay. Here are some tips to keep costs low:
- Recycle materials: Use old magazines, scrap paper, and even cardboard boxes.
- Dollar store finds: You’d be surprised what you can get for cheap.
- Nature: Leaves, rocks, and twigs are free and abundant.
Crafting with Different Age Groups
Crafting isn’t one-size-fits-all. What’s fun for a 5-year-old might be boring for a 12-year-old. Here’s a quick breakdown:
- Ages 4-6: Simple crafts like finger painting or paper plate masks.
- Ages 7-9: Slightly more complex projects like beaded jewellery or clay modelling.
- Ages 10-12: Advanced crafts like sewing projects or detailed model building.
Real Talk: Challenges and Solutions
Let’s be real. Crafting with kids can sometimes be chaotic. Here are some common issues and how to tackle them:
Essential Materials for Arts and Crafts
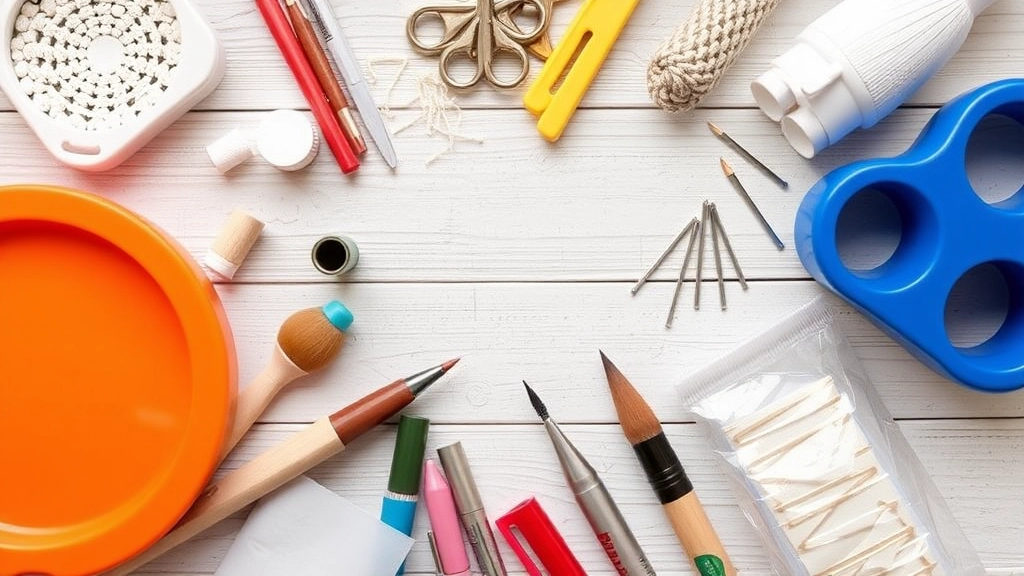
Ever wondered what you really need for arts and crafts at summer camp?
Let’s break it down.
You don’t want to be caught off guard, right?
Here’s the deal: having the right materials can make or break your craft sessions.
Basic Supplies
First off, let’s get the basics out of the way.
You need:
- Paper: Coloured, construction, and plain white.
- Glue: Stick, liquid, and maybe even a glue gun if you’re feeling adventurous.
- Scissors: Safety scissors for the little ones, regular ones for the older kids.
- Markers and Crayons: A variety of colours, of course.
- Paints: Watercolours, acrylics, and washable options.
- Brushes: Different sizes for different projects.
These are your bread and butter.
Extra Fun Stuff
Now, let’s spice things up.
- Glitter: Because who doesn’t love a bit of sparkle?
- Stickers: Various shapes, sizes, and themes.
- Googly Eyes: For those cute and quirky projects.
- Pipe Cleaners: Great for making all sorts of fun shapes.
- Beads and String: Perfect for jewellery making.
Nature-Inspired Materials
How about incorporating nature into your crafts?
- Leaves: Different shapes and sizes.
- Twigs: Perfect for rustic projects.
- Rocks: For painting or creating little creatures.
- Flowers: Fresh or dried.
This brings a whole new level of creativity.
Storage Solutions
You don’t want chaos, right?
Here’s what I do:
- Plastic Bins: For separating different materials.
- Drawer Units: To keep everything organised and accessible.
- Label Makers: So you can find what you need in a jiffy.
Real Talk: What Campers Actually Use
You might think you need a ton of stuff, but let’s keep it real.
Kids usually gravitate towards:
- Markers and Paper: Simple yet effective.
- Glue and Scissors: Essentials for almost any project.
- Beads and String: Always a hit for making bracelets and necklaces.
Quick Tips
- Buy in Bulk: It’s cheaper and you’ll always have supplies on hand.
- Check for Allergies: Some kids might be allergic to certain materials.
- Eco-Friendly Options: Think recycled paper and non-toxic paints.
Age-Appropriate Craft Projects
Alright, let’s dive into the nitty-gritty of age-appropriate craft projects. When it comes to crafting with kids, one size definitely does not fit all. You’ve got to tailor the activities to the age group you’re working with. Otherwise, you’ll end up with frustrated kids and a big ol’ mess. So, how do you nail it? Let’s break it down.
Why Age Matters
First off, why is age such a big deal? Well, kids develop different skills at different ages. What’s exciting and challenging for a 5-year-old might be boring or too easy for a 10-year-old. And vice versa, something that’s perfect for a pre-teen could be way too complicated for a kindergartener.
Age Groups and Suitable Crafts
Preschoolers (Ages 3-5)
These little ones are all about sensory experiences. They love to touch, feel, and explore. So, keep it simple and tactile:
- Finger Painting: Easy, fun, and messy in a good way.
- Playdough Creations: Safe, squishy, and they can make whatever their little hearts desire.
- Collages: Give them a bunch of colourful paper, glue, and let them go wild.
Early Primary (Ages 6-8)
Kids in this age group are starting to get the hang of basic motor skills. They can handle a bit more complexity but still need straightforward instructions:
- Simple Sewing Projects: Think felt animals or small pillows.
- Bead Jewellery: Stringing beads can be super satisfying.
- Paper Mâché: Messy but oh-so-fun. They can make masks, bowls, or even animals.
Tweens (Ages 9-12)
By now, kids have better coordination and can follow more detailed instructions. They’re also starting to develop their own interests:
- DIY Slime: This one never gets old. Plus, they can customise it with glitter, colours, and scents.
- Model Building: From cars to castles, give them kits with step-by-step guides.
- Advanced Sewing Projects: Think tote bags or simple clothing items.
Tips for Success
Here are a few pro tips to make sure your age-appropriate craft projects hit the mark:
- Know Your Audience: Always consider the specific group of kids you’re working with. Even within the same age group, abilities can vary.
- Keep It Flexible: Have a backup plan. If a project is too hard or too easy, be ready to switch gears.
- Engage Them: Ask questions, get them talking about what they’re making. This keeps their minds and hands busy.
- Prep Time: The more you prepare in advance, the smoother things will go. Trust me, a little planning goes a long way.
Real-Life Example
I remember one summer camp where we had a mix of ages. We planned a simple painting activity, but it quickly became clear that the older kids were bored. Quick pivot: we added a competitive element where they had to create the best landscape painting. Suddenly, everyone was engaged. Lesson learned: always be ready to adapt!
Incorporating Nature into Crafts
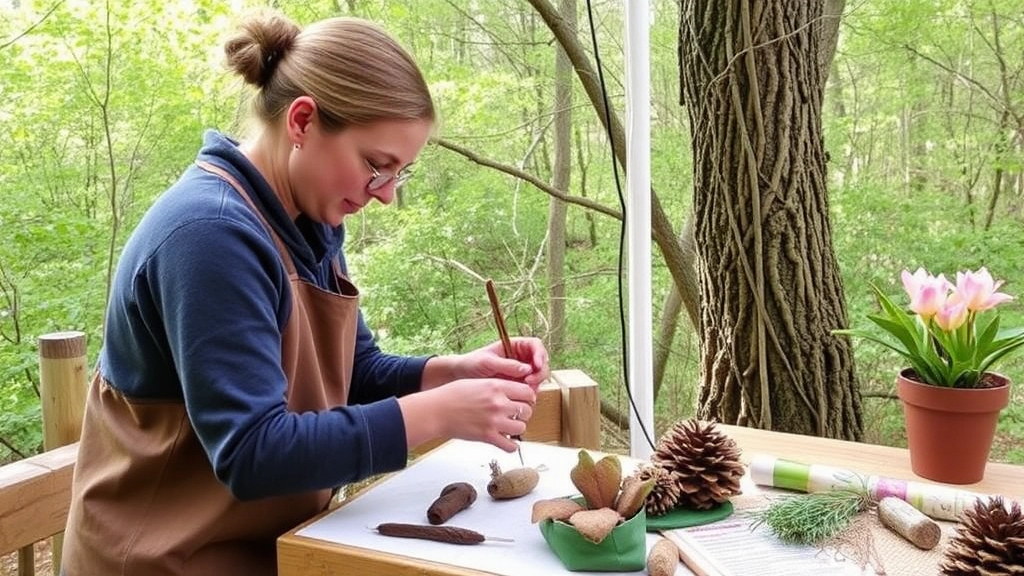
Ever wondered how to keep kids entertained while also getting them to appreciate the great outdoors?
Yeah, me too.
Incorporating nature into crafts is a brilliant way to do just that.
And guess what?
It’s easier than you think.
Why Nature Crafts?
First off, why should we even bother with nature crafts?
- Connection with Nature: Kids get to connect with nature, which is a big win.
- Free Materials: Leaves, sticks, rocks – all free and abundant.
- Sensory Experience: Handling natural materials is a sensory delight.
Simple Nature Craft Ideas
Alright, let’s get down to business.
Here are some easy, engaging nature crafts:
- Leaf Rubbings:
- Collect leaves.
- Place them under paper.
- Rub crayons over the paper.
- Voila! Instant art.
- Rock Painting:
- Gather smooth rocks.
- Use acrylic paints to create designs.
- Seal with varnish to protect.
- Twig Frames:
- Find some sturdy twigs.
- Hot glue them into a frame shape.
- Decorate with flowers or leaves.
Story Time: My First Nature Craft
Remember my first nature craft?
I was at a summer camp, and we made leaf crowns.
Simple, right?
But I felt like a forest king.
That’s the kind of magic we’re talking about here.
Tips for Nature Crafts
Here’s how to make sure your nature crafts are a hit:
- Safety First: Always check for sharp edges on twigs and rocks.
- Respect Nature: Only take what you need, and leave the rest.
- Mix It Up: Combine natural and man-made materials for variety.
Group Activities
Nature crafts are also perfect for team-building.
Imagine a group of kids working together to build a fairy house from sticks and leaves.
They’ll learn collaboration, patience, and a bit of engineering.
Group Craft Activities for Team Building
Ever tried to get a bunch of kids to work together without it turning into chaos? Yeah, me too. Group craft activities for team building are like magicâthey keep the kids busy, teach them to work together, and they have a blast doing it. So, if you’re gearing up for summer camp and want to nail this, let’s dive into some killer ideas that’ll make you look like a hero.
Why Group Craft Activities?
First off, let’s hit the big question: Why even bother with group crafts? Simple. They:
- Build Communication Skills: Kids have to talk to each other to get things done.
- Encourage Teamwork: Working together on a common goal.
- Boost Creativity: Different minds, different ideas.
- Create Bonds: Kids make friends while they craft.
Best Group Craft Activities
Alright, let’s get to the good stuff. Here are some top-notch group craft activities that will have your campers working together like pros.
1. Giant Mural Painting
Imagine a massive piece of paper laid out on the ground or pinned up on a wall. Each kid gets a section to paint, but they all have to coordinate to make the mural look cohesive.
- Materials: Large paper roll, paints, brushes, markers.
- Pro Tip: Assign a theme like “Under the Sea” or “Space Adventure” to guide them.
2. Friendship Bracelets
This one’s a classic. Each kid makes a bracelet for someone else in the group. It’s simple but packs a punch in the team-building department.
- Materials: Coloured threads, beads, clasps.
- Pro Tip: Set up a bracelet exchange at the end to make it feel special.
3. Collaborative Storybook
Have the kids create a storybook together. Each one writes and illustrates a page, then bind it all together.
- Materials: Paper, markers, coloured pencils, binding materials.
- Pro Tip: Start with a prompt to get their creative juices flowing.
4. Nature Collage
Get the kids outside to collect leaves, flowers, and other natural items. Then, bring them back and create a giant collage.
- Materials: Natural items, glue, large cardboard or paper.
- Pro Tip: Make it a scavenger hunt to find the items first.
5. Team Sculptures
Use clay or playdough to create a large sculpture. Each child contributes a piece, and they have to work together to make it stand and look good.
- Materials: Clay or playdough, sculpting tools.
- Pro Tip: Have a mini âexhibitionâ to show off their work.
Tips for Successful Group Craft Activities
Alright, now that you’ve got some ideas, here’s how to make sure your group craft activities go off without a hitch:
- Set Clear Instructions: Kids need to know what they’re doing. Lay out the steps clearly.
- Assign Roles: Give each kid a specific role to keep things organised.
- Monitor and Guide: Walk around and offer help, but let them figure things out too.
- Praise Team Effort: Focus on the group’s success rather than individual achievements.
Real Talk: Challenges You Might Face
Let’s keep it real here. Group activities aren’t always smooth sailing. Here’s what you might run into:
- Conflict: Kids might argue. Step in to mediate but also let them resolve some issues.
- Disinterest: Not every kid will be into every activity. Rotate activities to keep it fresh.
- Mess: Crafting is messy. Embrace it but have a clean-up plan.
Tips for Organising Craft Sessions
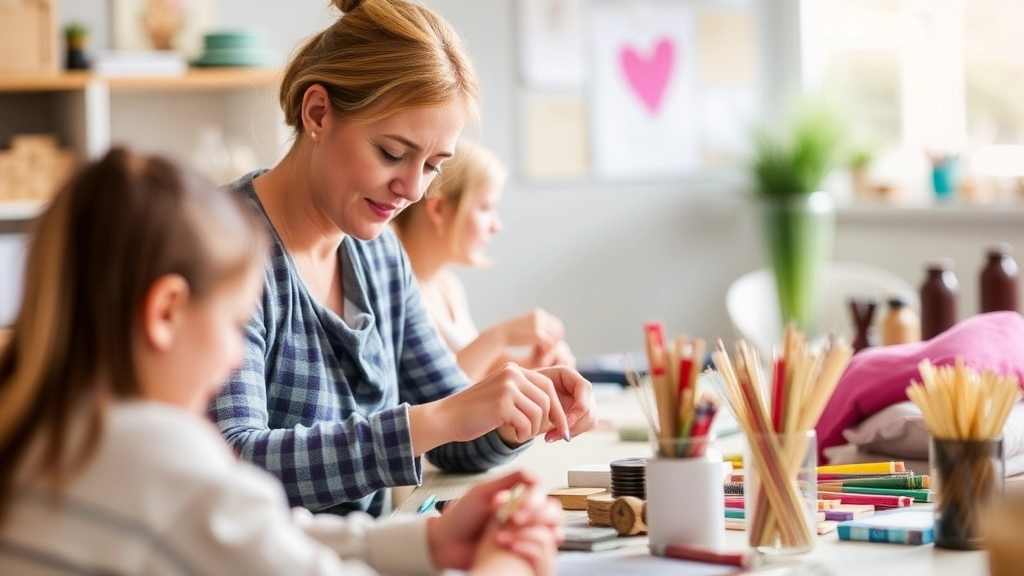
Ever tried setting up a craft session with kids and felt like you were herding cats? Yeah, me too.
But don’t worry, I’ve got some solid tips to make it easier.
Let’s dive right in.
1. Plan Ahead
Don’t wing it.
- Create a Schedule: Know what crafts you’ll do and when.
- Prep Materials: Have everything ready before the kids arrive. Trust me, you don’t want to be hunting for glue sticks mid-session.
2. Keep It Simple
Kids have short attention spans.
- Easy Projects: Choose crafts that can be completed in 30-45 minutes.
- Step-by-Step Instructions: Break down the project into simple steps.
3. Use Visuals
Kids are visual learners.
- Demo First: Show them a completed example.
- Instruction Sheets: Use pictures and minimal text.
4. Group by Age
Different ages, different needs.
- Age-Appropriate Projects: What works for a 5-year-old won’t cut it for a 12-year-old.
- Separate Groups: If possible, divide the kids into age groups.
5. Make It Fun
The goal is to have fun, not just to make a perfect craft.
- Encourage Creativity: Let them add their own twist.
- Praise Effort: Celebrate their work, even if it’s not perfect.
6. Stay Organised
A messy space can lead to chaos.
- Organise Supplies: Use bins and labels.
- Clean-Up Routine: Teach kids to clean up after themselves.
7. Safety First
Kids and scissors can be a dangerous mix.
- Supervise: Always keep an eye on them.
- Child-Safe Materials: Use non-toxic supplies and safety scissors.
8. Be Flexible
Things won’t always go as planned.
- Backup Plans: Have a few extra projects in case one flops.
- Adapt: Be ready to change things up on the fly.
9. Incorporate Nature
Nature crafts are a big hit.
- Collect Materials: Use leaves, sticks, or stones.
- Outdoor Sessions: If weather permits, take the crafting outside.
10. Encourage Teamwork
Crafting can be a great team-building activity.
- Group Projects: Plan crafts that require teamwork.
- Rotate Roles: Let kids take turns being the “leader.”
Safety Guidelines for Crafting with Kids
Ever worried about kids getting hurt during craft time? It’s a common concern. Crafting should be fun, not a trip to A&E. Let’s break it down so you can keep the fun rolling without any hiccups.
Why Safety Matters in Crafting
First off, let’s get real. Kids are curious, and that’s awesome. But it also means they might use scissors as swords or think glue sticks are snacks. Keeping them safe is our top priority.
Basic Safety Tips
Here’s a quick rundown of what to keep in mind:
- Supervision is Key: Always have an adult around. Even older kids can get into sticky situations.
- Age-Appropriate Tools: Use safety scissors for younger kids and avoid sharp objects. For older kids, make sure they know how to handle tools properly.
- Non-Toxic Materials: Choose non-toxic glue, paints, and markers. Check labels to make sure they’re kid-friendly.
- No Small Parts: Avoid small beads or buttons for the little ones to prevent choking hazards.
- Proper Ventilation: If you’re using paints or glues with fumes, make sure the room is well-ventilated.
Handling Tools and Materials
Alright, let’s talk tools. Here’s how to keep things safe and sound:
- Scissors: Safety scissors for under 5s. Teach older kids the right way to cut.
- Glue Guns: Low-temp glue guns are safer. Always supervise their use.
- Cutters and Blades: Reserved for older kids and always under supervision.
- Paints and Markers: Water-based and non-toxic are your best friends.
Setting Up a Safe Crafting Space
Creating a safe environment is just as crucial. Let’s make sure you’ve got it covered:
- Clear the Area: Remove any clutter that could cause accidents.
- Protective Gear: Aprons, gloves, and even safety goggles for certain projects.
- First Aid Kit: Keep it handy. Better safe than sorry.
- Clean-Up: Teach kids to clean up their space. It reduces accidents and keeps things tidy.
Real-Life Example
I remember this one time at camp, we were making birdhouses. One kid thought it’d be fun to use the hammer like Thor. Long story short, we had a minor finger incident. Since then, we’ve always stressed tool safety and proper supervision. It’s made a world of difference. For more tips on ensuring safety at camps, check out our Summer Camp Uniform Essentials.
Additionally, if you’re planning a themed craft session, you might find inspiration in our Creative Summer Camp Names for Every Theme.
Eco-Friendly Crafting Options
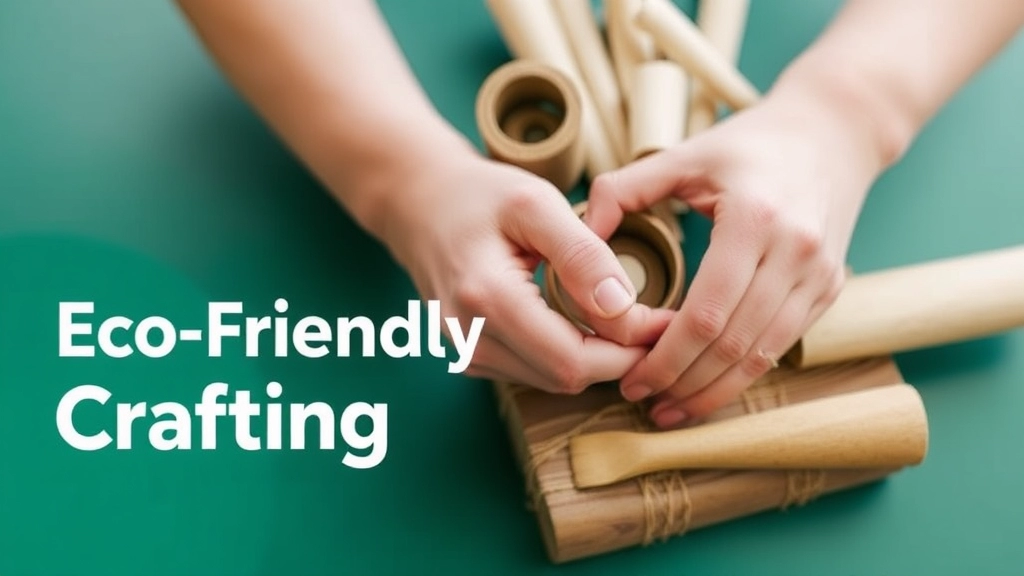
Ever wondered how to keep kids entertained at summer camp without harming the planet?
Yeah, me too.
Eco-friendly crafting is the answer.
It’s all about being creative while being kind to Mother Earth.
Here’s how you can do it:
Why Eco-Friendly Crafts?
First off, why should we even bother with eco-friendly crafts?
- Sustainability: Teach kids about the importance of sustainability.
- Budget-Friendly: Often cheaper than buying new materials.
- Unique Creations: Using recycled items can lead to one-of-a-kind projects.
Materials to Use
You don’t need fancy stuff.
Look around your house or the camp.
Here’s a list to get you started:
- Recycled Paper: Old newspapers, magazines, and scrap paper.
- Natural Elements: Leaves, twigs, stones, and flowers.
- Reusable Containers: Old jars, bottles, and boxes.
- Fabric Scraps: Leftover pieces from old clothes or linens.
Easy Eco-Friendly Craft Ideas
Alright, let’s dive into some projects.
Keep it simple and fun.
- Nature Collages
- Collect leaves, flowers, and twigs.
- Arrange them on a piece of recycled paper.
- Glue them down to create a beautiful nature scene.
- Bottle Cap Magnets
- Gather old bottle caps.
- Paint them or decorate with small pictures.
- Attach a magnet to the back.
- Tin Can Planters
- Clean out old tin cans.
- Decorate with paint or fabric scraps.
- Plant small herbs or flowers.
- Egg Carton Animals
- Cut up an egg carton.
- Paint and assemble into different animals.
- Use googly eyes or buttons for eyes.
Benefits of Eco-Friendly Crafts
Why are these crafts a win-win?
- Educational: Kids learn about recycling and nature.
- Creative Freedom: No strict rules, just imagination.
- Team Building: Great for group activities and collaboration.
Tips for Organising Eco-Friendly Craft Sessions
- Prep Time: Gather materials beforehand.
- Set Up Stations: Different tables for different crafts.
- Instructions: Clear and simple steps.
- Supervision: Keep an eye on the kids for safety.
Safety Guidelines
Safety first, always.
- Non-Toxic Supplies: Ensure all materials are safe for kids.
- Supervised Use of Tools: Scissors, glue guns, etc.
- Clean-Up: Teach kids to clean up their space.
Wrap-Up
Eco-friendly crafting is a fantastic way to keep kids engaged and teach them valuable lessons.
Plus, it’s easy on the wallet and the planet.
So next time you’re planning a craft session, think green.
Got any eco-friendly craft ideas of your own?
Share them with us!
Remember, keeping it green is not just a trend; it’s a way of life.
Let’s make crafting fun and sustainable!
Displaying and Sharing Completed Crafts
Ever finished a craft project with your kids and wondered, “Now what?” Displaying and sharing completed crafts can be as rewarding as creating them. It’s all about showcasing their hard work and creativity. Trust me, when kids see their art displayed, it boosts their confidence like nothing else. So, how do we do this effectively?
Why Display Completed Crafts?
First off, let’s talk about why displaying these crafts is so important:
- Boosts Confidence: When kids see their work admired, it builds their self-esteem.
- Encourages Creativity: Displaying their art encourages them to keep creating.
- Creates a Sense of Achievement: It gives them a tangible sense of accomplishment.
Ways to Display Crafts
Now, let’s dive into some practical ways to showcase these masterpieces:
- Craft Gallery Wall: Dedicate a wall in your home or camp to display the crafts. Use frames or a simple string and clothespins setup.
- Rotating Display: Change up the crafts every week or month to keep things fresh.
- Craft Showcase: Set up a small table or shelf where kids can place their latest creations.
- Digital Display: Take photos of their crafts and create a digital slideshow. Share it with family and friends via email or social media.
Sharing Crafts with Others
Sharing is caring, right? Here are some cool ways to share those creative projects:
- Craft Fairs: Organize a mini craft fair where kids can display and even sell their crafts.
- Social Media: Create a private group or page where kids can share their work with friends and family.
- Gift Giving: Encourage kids to gift their crafts to loved ones. It’s a personal and heartfelt gesture.
- Community Boards: Pin up the crafts on community boards in local libraries or community centres.
Real Stories
Let me share a quick story. Last summer, we had a kid named Jake at our camp. He was shy and didn’t speak much. But when we displayed his clay model on the craft gallery wall, his face lit up. The next day, he brought in more models to share. Seeing his work appreciated made him open up and interact more with other kids. It’s amazing what a little recognition can do.
Tips for Effective Display
Here are some tips to make your display pop:
- Keep it Eye-Level: Make sure the display is at the kids’ eye level so they can easily see and appreciate their work.
- Label the Crafts: Add the artist’s name and a title to each piece. It gives a sense of ownership.
- Use Proper Lighting: Good lighting can make a huge difference. Use natural light or spotlights to highlight the crafts.
- Create Themes: Group crafts by theme or project. It makes the display more cohesive and visually appealing.
Encouraging Creativity and Self-Expression
Ever wondered how to get kids to really express themselves through crafts?
It’s a common worry.
You want them to be creative, but how do you make that happen?
Start with the Basics
Kids need a space where they feel safe to explore.
That means no “wrong” way to do things.
Set Up a Creative Environment
- Variety of Materials: Offer different textures, colours, and tools.
- Open-Ended Projects: Let them decide how to finish.
- Encouragement: Praise their effort, not just the end result.
Give Them Freedom
Sometimes, the best thing you can do is step back.
Let them make a mess.
Let them mix colours that don’t âmatch.â
Use Prompts, Not Instructions
- What if you could make anything?
- How would you use these materials?
- What story does your craft tell?
Incorporate Their Interests
If they love dinosaurs, let them make a dino world.
If they’re into space, craft some rockets.
Share and Showcase
Kids love to see their work appreciated.
- Craft Display: Create a gallery wall.
- Show and Tell: Let them explain their work.
Real-Life Example
One summer, we had a kid who was shy and barely spoke.
We gave him a bunch of clay and no instructions.
By the end of camp, he was making clay models and telling everyone stories about them.
Key Takeaways
- Freedom to Explore: No strict rules.
- Encouragement: Focus on effort.
- Interest-Based Projects: Keep it relevant to them.
- Showcase Work: Make them feel proud.
Remember, creativity isn’t about perfection.
It’s about expression.
And when kids feel free to express, their creativity knows no bounds.
For more ideas on creating a fun and engaging environment, check out our summer camp themes and creative ideas. Also, don’t miss our summer camp packing list essentials to ensure you have everything you need for a successful camp experience.
FAQs on Summer Camp Arts and Crafts
What are the essential materials for arts and crafts at summer camp?
To ensure a successful craft session, you need basic supplies like coloured paper, glue (stick and liquid), safety and regular scissors, markers, crayons, paints (watercolours, acrylics, washable), and different sizes of brushes. These are the essentials that will cover most projects.
What extra materials can make arts and crafts more fun?
Adding materials like glitter, stickers, googly eyes, pipe cleaners, and beads with string can make craft sessions more exciting. These items add a fun and creative twist to basic projects.
How can nature be incorporated into arts and crafts?
Using nature-inspired materials like leaves, twigs, rocks, and flowers can bring a new level of creativity to craft projects. These materials are often free and provide a sensory experience for the kids.
What are some simple nature craft ideas?
Some easy and engaging nature crafts include leaf rubbings, rock painting, and twig frames. These projects are simple to set up and can be done with materials found outdoors.
How can craft sessions be organised effectively?
Effective organisation includes planning ahead, keeping projects simple, using visuals, grouping kids by age, making it fun, staying organised, prioritising safety, being flexible, incorporating nature, and encouraging teamwork. These tips help manage the session smoothly and keep kids engaged.
What are some eco-friendly crafting options?
Eco-friendly crafting involves using recycled and natural materials. Examples include nature collages, bottle cap magnets, tin can planters, and egg carton animals. These projects teach sustainability and are often budget-friendly.
Why should we focus on eco-friendly crafts?
Eco-friendly crafts promote sustainability, are cost-effective, and lead to unique creations. They also teach kids about recycling and the importance of taking care of the environment.
What materials are best for eco-friendly crafts?
Materials such as recycled paper, natural elements (leaves, twigs, stones), reusable containers (old jars, bottles, boxes), and fabric scraps are ideal for eco-friendly crafts. These items are often readily available and reduce waste.
What are the benefits of eco-friendly crafts?
Eco-friendly crafts are educational, offering lessons on recycling and nature. They also provide creative freedom and are excellent for team-building activities, fostering collaboration among kids.
What safety guidelines should be followed during craft sessions?
Always use non-toxic supplies, supervise the use of tools like scissors and glue guns, and teach kids to clean up their space. Safety should always be a priority to ensure a fun and injury-free crafting experience.
References
-
Essential Craft Supplies for Kids
-
Fun Ways to Incorporate Nature into Your Crafts
-
How to Organize Your Craft Room

